Assessing the Space and Planning the Design
Before you embark on creating your DIY built-in bookcase around a window, it’s crucial to assess the area. Start by measuring the space’s height, width, and depth. Take note of nearby power outlets, vents, or light switches that may affect the design. Compatibility with the window’s style and room decor is key.
With measurements in hand, sketch a basic design. Consider how deep you want the shelves and the amount of space you’ll need between them. Will you include cabinets or drawers at the bottom, or will it be full shelving? Use graph paper for accuracy, or a design app for a more visual approach.
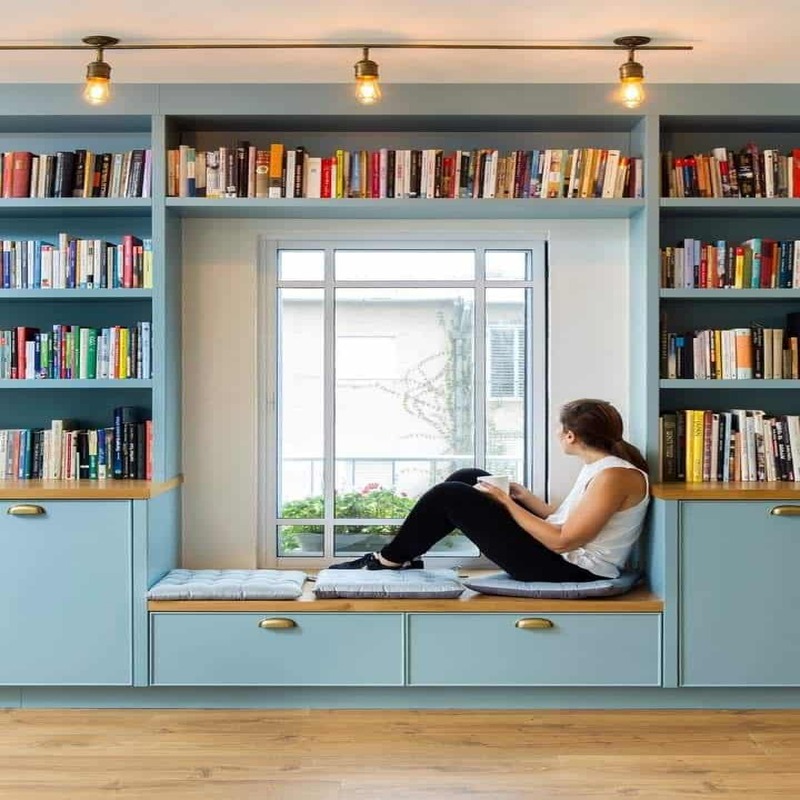
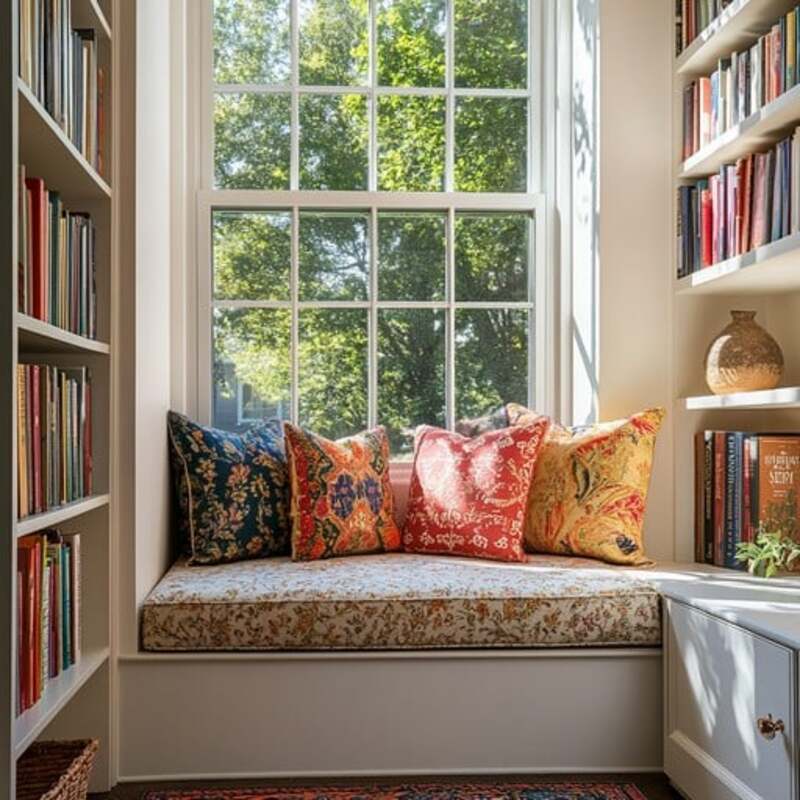
Think about the bookcase’s purpose. Is it just for books, or do you want to showcase decorative items as well? Plan for adjustable shelves if you need flexibility. If reading by the window is a goal, make sure to accommodate for comfortable seating and lighting.
Lastly, pen down a list of materials that resonate with the design plan. Choose materials that not only provide durability but also complement the room’s aesthetic. Ensure you select sustainable options if eco-friendliness is a priority for you.
In the next step, we will focus on selecting the right materials that balance quality with affordability. Remember, thorough planning at this stage sets the foundation for a successful DIY project.
Selecting Materials for Your Bookcase
When choosing materials for your DIY built-in bookcase around a window, quality and cost matter. Go for sturdy, long-lasting options like hardwood or MDF (Medium Density Fiberboard). Hardwood like oak or maple can be pricier but brings elegance and strength. MDF is more budget-friendly and still provides durability.
Here’s what to consider when selecting materials:
- Appearance: Choose a finish that matches your room’s decor. Paint-grade or stain-grade woods offer flexibility for custom looks.
- Durability: Pick materials that can handle the weight of books and withstand wear and tear.
- Cost: Balance your budget with the quality you desire. Sometimes, spending more initially means fewer repairs later on.
- Sustainability: If eco-friendly living is vital to you, look for responsibly sourced woods or recycled materials.
Balance these factors to ensure your bookcase is both functional and aesthetically pleasing. Next, we will discuss the tools and equipment you’ll need to bring your bookcase to life.
Tools and Equipment Needed
To build your DIY built-in bookcase around a window, you’ll need the right tools and equipment. Gather these essentials to ensure a smooth building process:
- Measuring Tape: Precision is key. Use a measuring tape for accurate dimensions.
- Level: Ensure your bookcase is perfectly horizontal.
- Saw: A circular saw or handsaw will cut through your chosen materials.
- Drill: Assemble parts and create pilot holes with a powerful drill.
- Screwdriver: A set of screwdrivers is vital for hardware installation.
- Hammer or Nail Gun: For attaching parts swiftly and securely.
- Sander: Smooth out any rough edges on the wood.
- Clamps: Hold your work in place as you build.
- Paintbrushes/Rollers: Apply finish to your bookcase.
- Safety Gear: Don’t forget goggles and gloves to protect yourself.
Opt for quality tools that can handle the workload. Good equipment leads to better, safer results. You may also consider renting larger tools if buying is cost-prohibitive. Ensure you have everything before starting to save time and avoid frustration. Up next, we’ll guide you through building the bookcase framework.
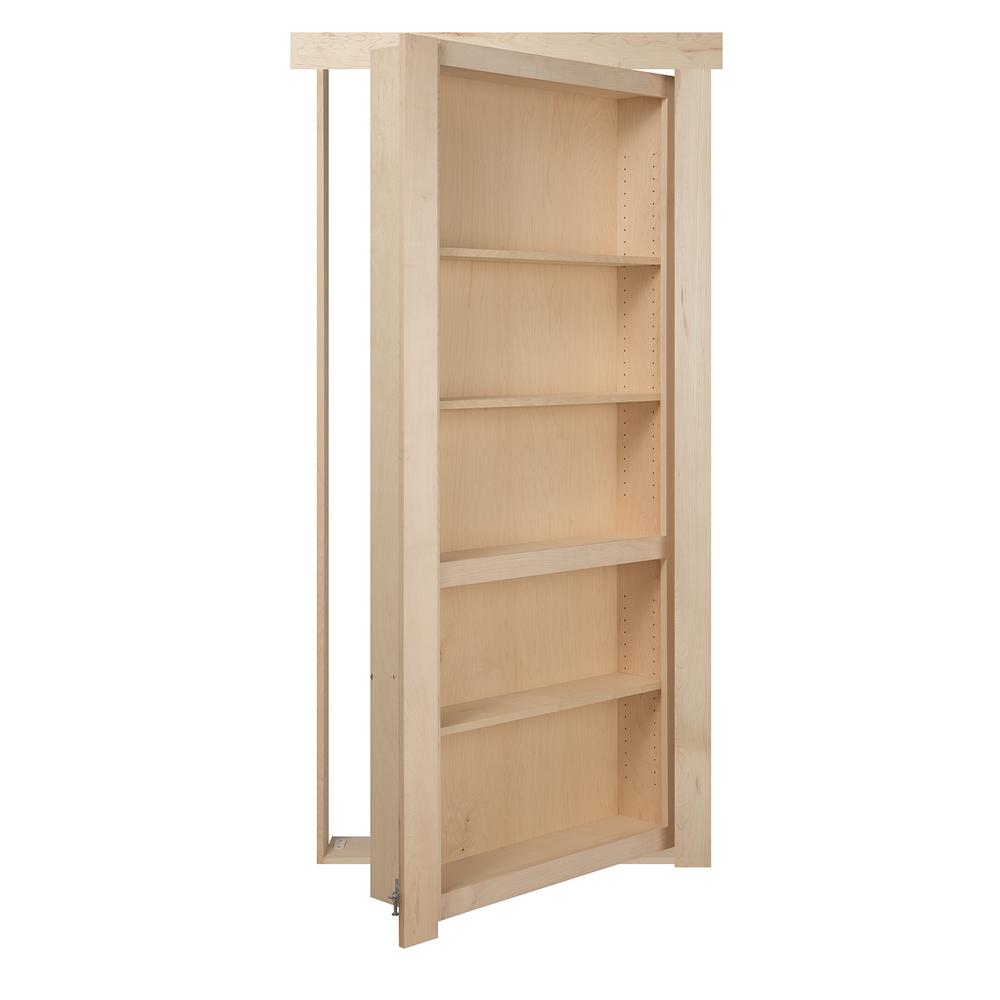
Building the Bookcase Framework
The construction of your bookcase framework is a crucial step in your DIY project. It involves careful attention to detail to ensure stability and precision alignment. The bookcase must be built to perfectly fit around your window, allowing for a seamless look and efficient use of space. Here’s how to build a solid and sturdy bookcase framework:
- Create a Blueprint: Based on your initial assessment and design plans, draw up a detailed blueprint. This should include exact measurements and the location of each shelf and support.
- Cut Your Materials: Use your saw to cut wood or MDF to the dimensions on your blueprint. Remember, measure twice and cut once to avoid mistakes.
- Build the Base: Construct the base frame, making sure it’s level and square. This will support the entire structure, so ensure it’s solid and secure.
- Assemble Vertical Supports: Install the side pieces that will hold up the shelves. Use your level to check they are perfectly vertical.
- Attach Horizontal Shelves: Begin adding the shelves, starting from the bottom up. Each shelf should be attached to the vertical supports.
- Secure to the Wall: To prevent your bookcase from tipping, secure it tightly to the wall studs. Use your drill and screws for a firm attachment.
- Check Alignment: After each step, use your level to verify that everything is aligned correctly. An even, straight bookcase is essential for both appearance and safety.
Continue to follow these steps, ensuring all parts are secured and well-aligned. In the next section, we’ll discuss how to customize shelving and storage to meet your needs.
Customizing Shelving and Storage Options
Crafting a bookcase that meets your unique needs is all about customization. Think about what items it will hold. Will it store large books, small collectibles, or a mix of both? This will influence the shelf heights and the need for adjustable shelving. Here are ways to personalize your shelving and storage:
- Adjustable Shelves: Install shelf pins for adjustable-height shelves. This provides the flexibility to change your setup as needed.
- Fixed Shelves: For a stronger structure, you can opt for fixed shelves. Ensure they’re spaced to fit your tallest books or decor.
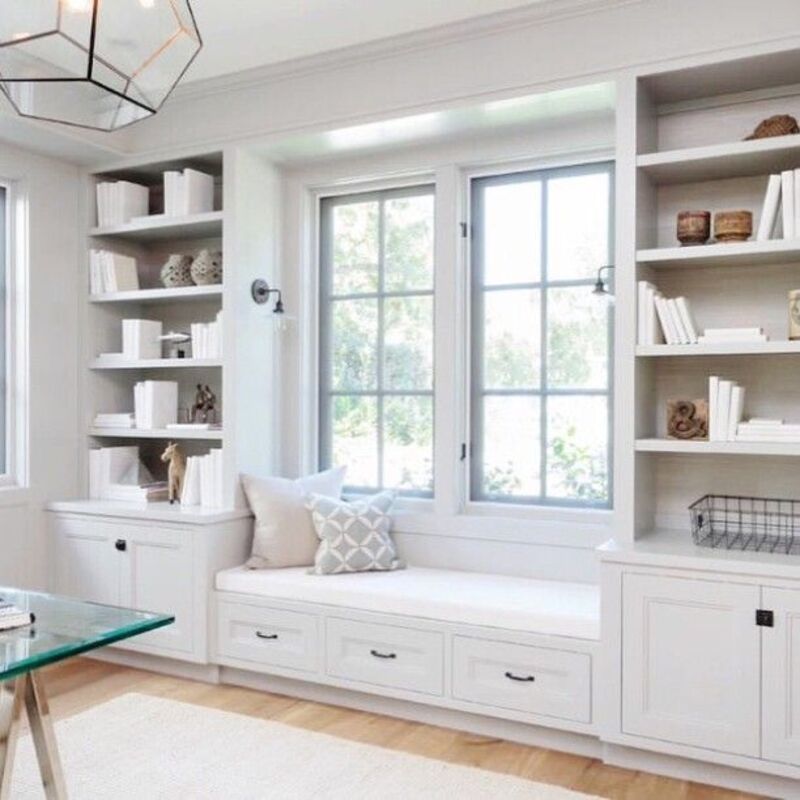
- Drawer Units: Consider adding drawers at the bottom. This is great for items you prefer out of sight or for extra storage.
- Cabinet Doors: If you want to keep some sections concealed, add doors. This also protects items from dust.
- Vertical Dividers: They can help organize and separate different types of items, giving a cleaner look.
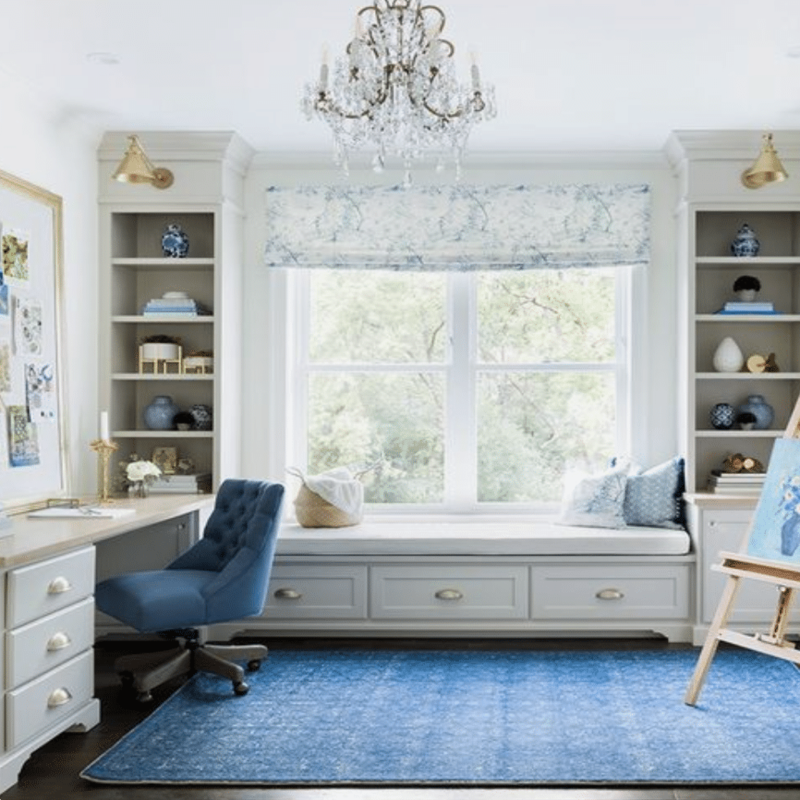
Moreover, think about the visual appeal. Mix in different elements like contrasting colors or unique hardware. Once you’re content with the shelving and storage, it’s time for the finishing touches. These add character and polish to your DIY built-in bookcase around a window.
Adding Decorative Elements and Finishing Touches
Once your bookcase is built, it’s time to make it shine. Adding decorative elements and the final touches can turn a simple bookcase into a stunning feature of your room. Here’s how to add charm and personality to your DIY built-in bookcase around a window:
- Apply Paint or Stain: Choose a color or stain that complements your room. Painting or staining gives the bookcase a finished look. Remember to use even strokes for a smooth finish.
- Install Trim or Molding: Trim or crown molding can frame your bookcase beautifully. It adds a touch of elegance and can blend the bookcase with the room’s architecture.
- Add Lighting: Consider installing lights above or inside the bookcase. This can highlight your books and decor while providing functional reading light.
- Decorative Knobs or Pulls: If your bookcase has doors or drawers, choose hardware that matches your room’s style. Unique knobs or pulls can be a small, yet impactful, detail.
- Accessorize Shelves: Arrange books, plants, and decorative items. Create balance and interest with items of varying heights and textures.
- Consider Artwork: Hanging artwork on or around the bookcase can accentuate the area. Choose pieces that speak to you and fit the space.
These final steps will complete your DIY built-in bookcase project, turning the functional structure around your window into a captivating element of your home’s decor. With your bookcase finished, it’s ready to enjoy and show off to friends and family.
Safety Considerations and Best Practices
When building a DIY built-in bookcase around a window, safety must be a priority. Keep in mind these best practices:
- Work in a Ventilated Area: Sawing and sanding can create dust; paint and stains may release fumes. Always ensure proper ventilation.
- Wear Protective Gear: Safety glasses protect your eyes; gloves guard against splinters and blisters. Don’t skip on safety gear.
- Use Tools Correctly: Familiarize yourself with tool instructions. Misuse can lead to injury. If unsure, seek guidance.
- Keep a Clean Workspace: A cluttered area can cause accidents. Keep your space tidy to prevent trips and falls.
- Check for Electrical Wiring and Pipes: Before securing the bookcase to a wall, use a stud finder. Avoid drilling into wires and pipes.
- Seek Help for Heavy Lifting: Don’t risk injury by lifting heavy boards alone. Get assistance when needed.
Following these safety tips will help ensure that your project is not only successful but also free of accidents. Next, we will provide maintenance tips to keep your new bookcase in excellent condition.
Maintenance Tips for Your New Built-in Bookcase
After completing your stylish DIY built-in bookcase around the window, proper care will keep it in top condition. Here are essential maintenance tips to follow:
- Regular Dusting: Use a soft cloth or duster to wipe shelves weekly. This prevents dust buildup that can dull the finish.
- Avoid Direct Sunlight: If your bookcase is near the window, ensure the wood is protected from prolonged sun exposure. It can cause fading and damage over time.
- Mind Humidity Levels: Too much moisture can warp wood. Keep the room’s humidity consistent to protect the bookcase.
- Be Gentle with Doors and Drawers: To maintain their alignment and function, handle them carefully. Avoid slamming or forcing them.
- Tighten Loose Screws: Check for loose fittings periodically. Tighten them up to prevent wobbling or instability.
- Clean Spills Immediately: Wipe up any spills quickly to prevent stains or water damage.
- Use Coasters for Drinks: Protect the wood from rings and spills by placing coasters under beverages.
- Refresh the Finish: If the bookcase starts to look worn, a fresh coat of paint or stain can revive it.
By following these simple tips, your DIY built-in bookcase will remain a beautiful and functional focal point in your home for years to come.