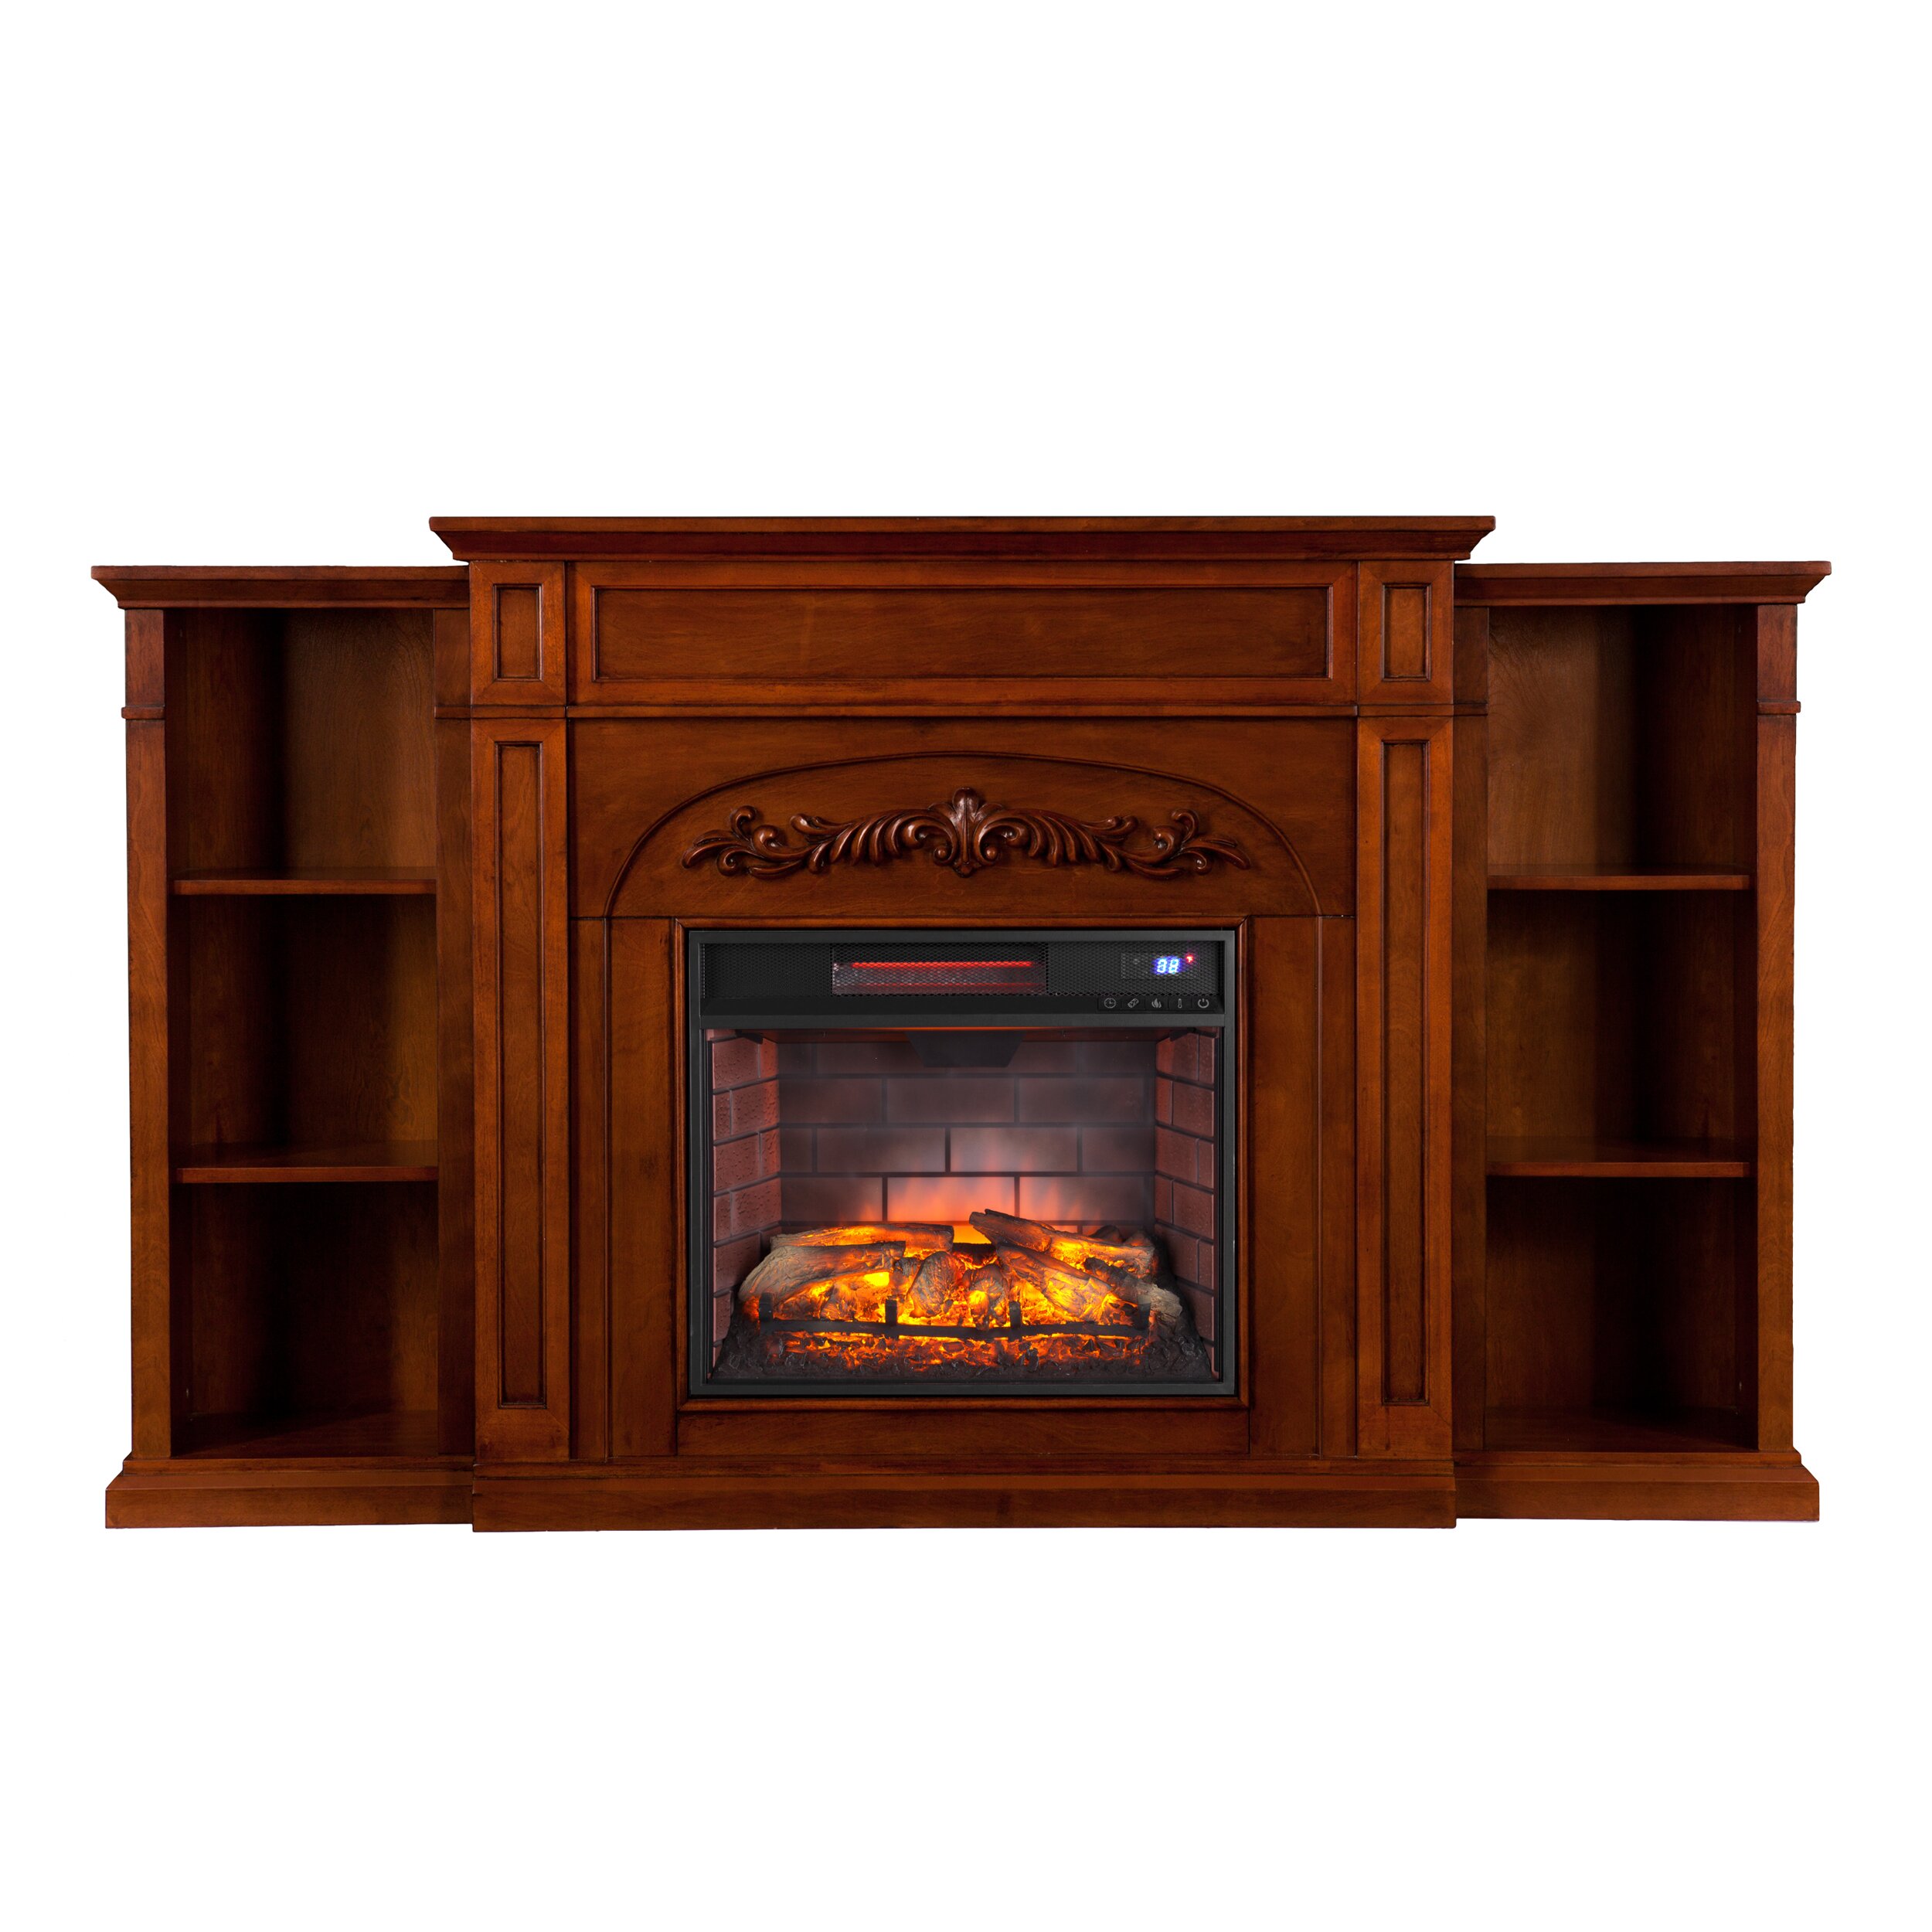
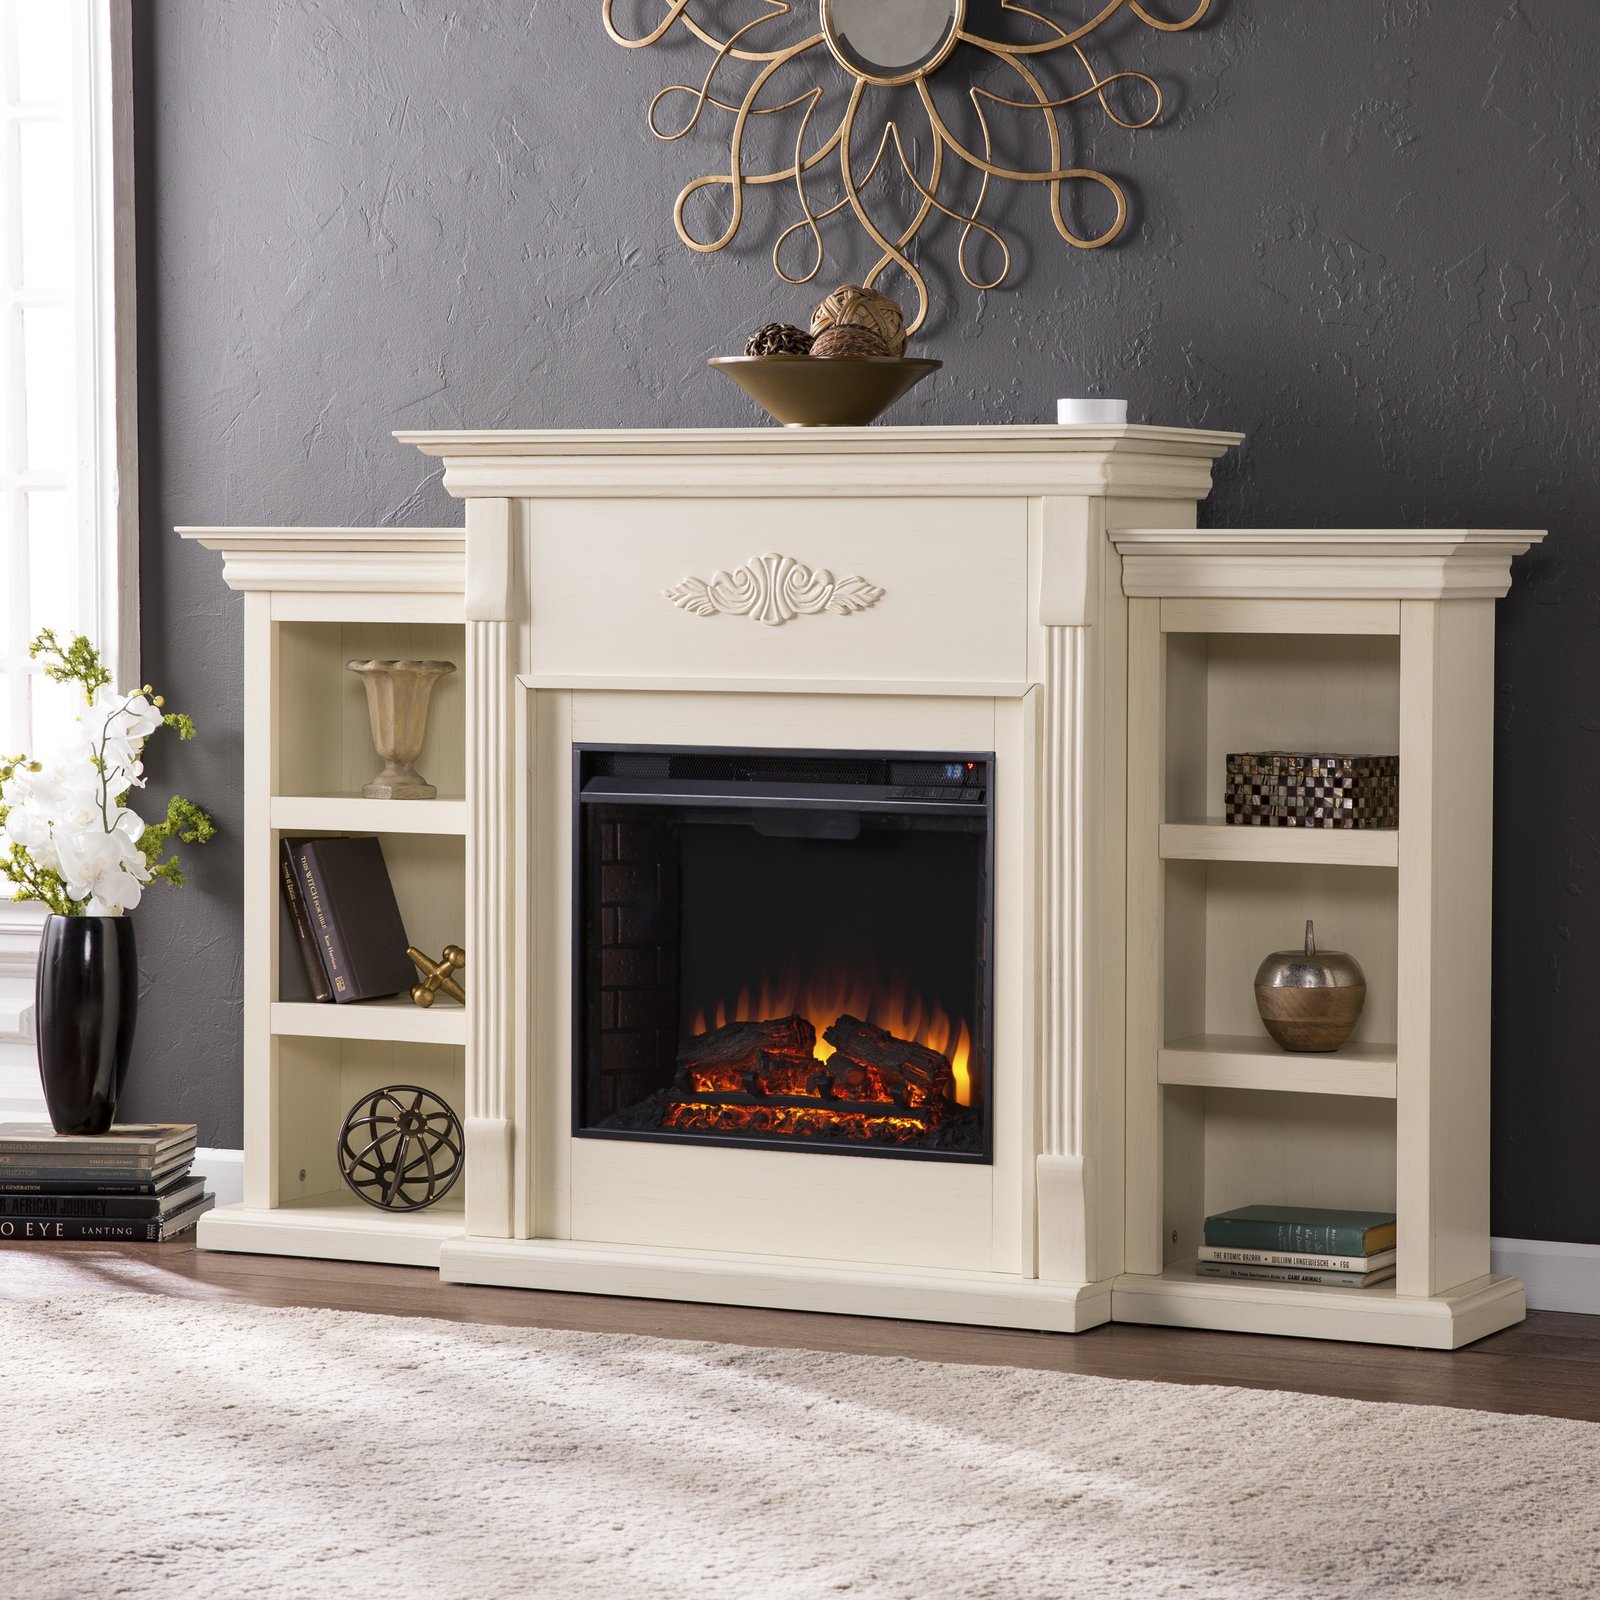
Introduction: Revolutionizing Your Fireplace Wall
Transforming the space around your fireplace can create a striking visual impact in your living room. It’s not just about warmth; it’s about style too. In this blog, I will guide you through each key step to achieve an elegant fireplace bookcase ensemble. We’ll start by preparing the area for a complete makeover. Then, we’ll move on to installing shiplap for added texture and charm. We’ll assemble and customize IKEA bookcases, integrate baseboard trim, and add stylish trim and top moulding. Detail work with finish moulding follows, ensuring a premium look.
After fine-tuning the structure with wood fill and sanding, we will seal seams with caulk for a clean finish. The final steps involve priming and painting for durability and attaching doors and selecting hardware for functionality and flair. Let’s embark on this journey to elevate your fireplace into an eye-catching feature. Get ready to give your living room a whole new vibe!

Step 1: Preparing for the Transformation
Before diving into the creation of your fireplace bookcase ensemble, set the stage for success with thorough preparation. Start by clearing the area around your fireplace. Remove any existing decorations or hardware that may get in the way of your transformation project. Next, give everything a deep clean. Dust and sweep the entire space to ensure a clean working environment.
Now, take down any crown moulding along the length of the fireplace hearth if present. Doing this allows you to extend the shiplap all the way to the ceiling without obstructions. This will not only ease the installation process but also give the illusion of a higher ceiling, enhancing the grandeur of your living room.
Measurements are vital at this step. Measure the height and width of the area accurately. These numbers will guide you when purchasing materials and help you cut the shiplap to the correct dimensions. Write these measurements down so you won’t forget. Planning and preparation are the keys to a successful project, so take your time during this step. Remember, a strong foundation will lead to exceptional results in your fireplace bookcase project.
Step 2: Installing the Shiplap Successfully
For a well-executed shiplap installation, first locate the studs in the wall. Use a stud finder and mark the positions clearly on the ceiling. These marks guide you when securing the shiplap, and later, the TV mount. Don’t skip this step. You won’t find the studs through the shiplap once it’s up.
Begin at the top and work your way down when installing the shiplap boards. Measure and cut the boards to match the width of the fireplace hearth. This helps create a uniform look with the adjacent bookcases. Ensure each board lines up correctly before fixing it into place. Use the right tools and hardware to attach the shiplap firmly to the studs.
Stay organized and precise. Keep your workspace clean and tools handy. Use safety gear as needed during the installation process. With attention to detail and proper preparation, your shiplap will add the perfect touch of charm to your fireplace bookcase ensemble.

Step 3: Assembling and Modifying IKEA Bookcases
The next phase in crafting your fireplace bookcase ensemble is assembling your IKEA bookcases. Start by unpacking the bookcases carefully and organizing all parts. Follow the instructions to put them together. It may seem simple, but stay patient and focused.
If the white IKEA Billy bookcases are out of stock, as was my case, you might need to settle for a darker color. No worries, though; you can paint them white later. Don’t forget to attach any door extensions or extenders based on your ceiling height to achieve full height effects. For standard 8ft ceilings, one extender should suffice.
After assembly, secure your bookcases to the wall studs. This step is crucial for stability and safety. Use a stud finder again to locate the studs and drill the bookcases into place. This ensures they won’t tip over or move around.
Make sure your IKEA bookcase fits perfectly into your designed space. Measure twice and place once to avoid any misalignment. Tailor the bookcases to your space based on the prior measurements taken. Customizing your bookcases to blend seamlessly with the shiplap creates a cohesive, built-in look.
Finally, don’t hesitate to tweak the bookcases to suit your aesthetic by adding or altering trimmings just like you would in a custom project. Painting and customizing the bookcases is your chance to add personal touches to the ensemble. Paint them, add creative trims, or modify shelving to make your fireplace bookcase unique.
Remember to allow for dry time if painting, and always check for any additional modifications needed before moving on to the next step. With meticulous assembly and careful modification, your IKEA bookcases will soon be an integral part of your refined living space.

Step 4: Integrating Baseboard Trim for a Seamless Look
When creating your fireplace bookcase ensemble, details matter. Integrating baseboard trim adds a seamless and professional finish. Here’s how you can achieve that.
Begin by removing the existing baseboard trim from your wall. Keep track of all pieces. You may need to reuse some for a consistent look. Make sure to measure the removed trim for reference.
Next, cut your new baseboard trim. Use a miter saw for angled cuts that fit the corners neatly. Aim for a precise fit to avoid gaps between the wall and the bookcase.
After cutting, install the baseboard trim around the bookcases. Nail it directly into the wall studs for a secure fit. Use a nail gun for efficiency, but be careful to place nails straight.
Check the alignment of the baseboards. They should be level and flush against the bookcases and wall. Adjustments now avoid bigger problems later.
The baseboard serves two purposes. First, it conceals any gaps between the bookcase and the floor. Second, it creates visual unity across the wall. The right trim can transform your space from nice to stunning.
Make this step count. Proper baseboard installation is vital for the overall look of your fireplace bookcase ensemble. Take your time to get it just right.
Step 5: Enhancing Aesthetics with Trim and Top Moulding
Add personality and refinement to your fireplace bookcase with trim and top moulding. Begin by choosing 1×2 pine boards for the face of the cabinets. Attach them carefully, bulking up the bookcase look. This makes it seem more custom-built and integrated into your space.
For a flush appearance, align the shelf and pine board edges. Let the pine extend below the shelf for added style. If your living room already features crown moulding, continue it around the bookcase for unity. Alternatively, create your own moulding with pine boards to match your ceiling height.
This step brings the project together. It adds a crafty touch that turns your IKEA bookcase from standard to exceptional. Go slow, measure carefully, and attach securely. Your attention to detail here creates the bespoke feeling of luxury custom shelving at a fraction of the cost.
Step 6: Perfecting the Details with Finish Moulding
As we approach the final stages of our fireplace bookcase project, perfecting the fine details becomes crucial. Finish moulding is your next step — a defining element that truly elevates your bookcase to a professional level. Use cove moulding to smooth out the transition where the bookcase meets the shiplap. It hides imperfections and adds a polished, sophisticated touch.
Measure the areas where you will apply the moulding. Cut each piece carefully to fit snugly. Attach the finish moulding along the edges where the bookcase and shiplap intersect. Nail it securely, making sure it aligns well with the existing structures.
This subtle addition may seem small, but its impact on the overall look is significant. The finish moulding not only covers gaps but also enhances the custom look of your bookcase. It’s an optional step, but for that truly finished and luxurious appearance, it’s highly recommended.
Once you’ve installed the finish moulding, your fireplace ensemble will start to showcase its refined elegance. You’re now one step closer to witnessing the stunning transformation of your living space. Remember, it’s the attention to small details that bring out the best in your DIY projects.
Step 7: Fine-Tuning with Wood Fill and Sanding
The details make the difference in achieving a high-end, custom look. Wood fill and sanding are essential for a smooth, flawless finish. During this fine-tuning step, focus on filling all the holes from shelving adjustments. Use wood filler to plug these holes and any nail gaps. Once filled, give the filler time to dry. Patience is key; don’t rush this process.
After drying, sand the surface of your bookcase. Sanding smooths out the wood filler and any rough edges. It prepares the bookcase for painting. Start with a coarse sandpaper and finish with a finer grit. Use steady, even strokes to avoid uneven surfaces.
Your aim is to create a seamless look where shelves meet the wall. Make sure that every inch is sanded well. This includes the areas where trim and shiplap come together. The smoother the surfaces, the better the paint will adhere. And remember to wipe down the dust after sanding. A clean surface is crucial before moving on to caulking and painting.
This step takes time and effort. But it’s worth it when your fireplace bookcase ensemble stands out with professional elegance. Stick to this routine, and you’re set for a stunning result.

Step 8: Ensuring a Flawless Finish with Caulk
The key to a polished look is in the details. Caulk aids in achieving a clean and seamless finish. Begin by selecting a paintable caulk for the job. This ensures that you can paint over the caulk without issues after it dries.
Inspect the edges and seams around your bookcase and shiplap. Look for gaps where the two meet and along any trim pieces added. Apply caulk to these areas carefully. A steady hand is crucial; use masking tape if needed to keep lines straight.
Smooth out the caulk with a damp finger or caulk tool. This blends it seamlessly with the surrounding surfaces. Focus on corners and where shelves join the wall. Remember, a neat caulking job makes a big difference.
Let the caulk dry as per the instructions on the tube. Rushing to paint over wet caulk leads to a messy finish, so patience is important. Once dry, inspect your work. Touch up any areas as needed before moving on to priming and painting.
With well-applied caulk, your fireplace bookcase will look as if it was crafted by a professional. It bridges small imperfections, resulting in a flawless ensemble. This simple yet crucial step brings us closer to completing our elegant transformation.
Step 9: Priming and Painting for a Lasting Impression
The journey of our fireplace bookcase ensemble is nearing completion with priming and painting. This step is critical for both the durability and the aesthetics of your project. Start by selecting a high-quality primer that’s suited for the specific materials of your IKEA furniture and shiplap. Zinsser B-I-N primer comes highly recommended for its excellent adhesion properties, making it perfect for IKEA items.
Apply two coats of primer, allowing adequate drying time between each layer. Once the primer is set, you are ready to paint. Choose a durable paint like Sherwin Williams Emerald Urethane Trim Enamel. With its superior coverage, this paint will bring your ensemble to life. Opt for ‘Pure White’ to give your bookcase a crisp look, while ‘Grizzle Gray’ can add a sophisticated contrast to your shiplap.
Commit to three coats of paint for a full, even coverage. Take your time with each coat, making sure no drips or streaks are left behind. Allow the paint to dry completely between each application. This patience will pay off with a professional, lasting finish.
Carefully painting your bookcase ensemble ensures it will stand the test of time, both in style and in sturdiness. With your primer and paint in place, your fireplace bookcase will soon be a stunning centerpiece in your living space.

Step 10: Adding the Final Touches with Doors and Hardware
With the shiplap in place, the bookcases assembled and trimmed, and everything painted, the final step in our fireplace bookcase project is to add doors and select the right hardware. This is where your style gets to shine, and your bookcase ensemble really comes together.
First, reattach the doors you’ve chosen for your bookcases. If you bought the IKEA Billy/Oxberg combination, you’ll have glass doors that add a touch of elegance. Make sure the doors are hung straight and even. Adjust the hinges as needed to get that perfect fit.
Next, choose hardware that complements the style of your living room. Knobs or handles for the doors can serve as striking accent pieces. Go for a finish that matches other metals in the room, like brushed nickel, polished brass, or matte black.
When you’ve selected your hardware, carefully measure and mark where you’ll attach it. Precision here is key. You want your hardware evenly placed for a consistent, professional look.
Finally, install your chosen hardware. Be mindful with the drill; avoid any slips that could damage the doors or the finish. With the hardware in place, step back and enjoy the view. Your new fireplace bookcase not only enhances the warmth of your fireplace but also adds a personal touch to your living space.
Remember to keep all tools handy and work area clean for efficiency and safety. With the addition of doors and hardware, you have transformed your space into a stylish and practical area. Congratulations on completing this transformative project! Your living room is now graced with a beautiful fireplace bookcase ensemble that is sure to draw compliments from all who see it.
